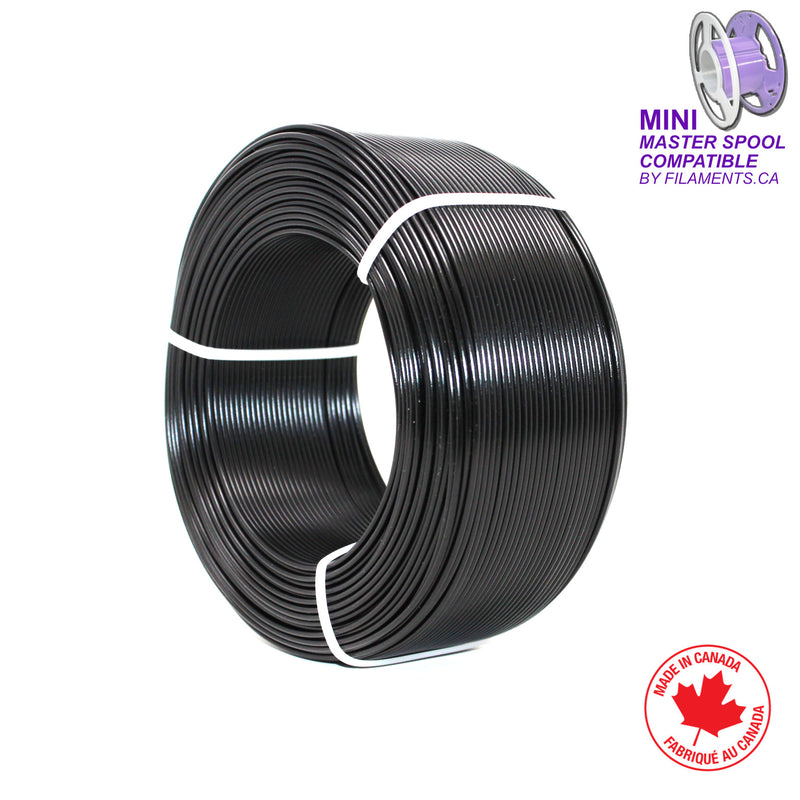
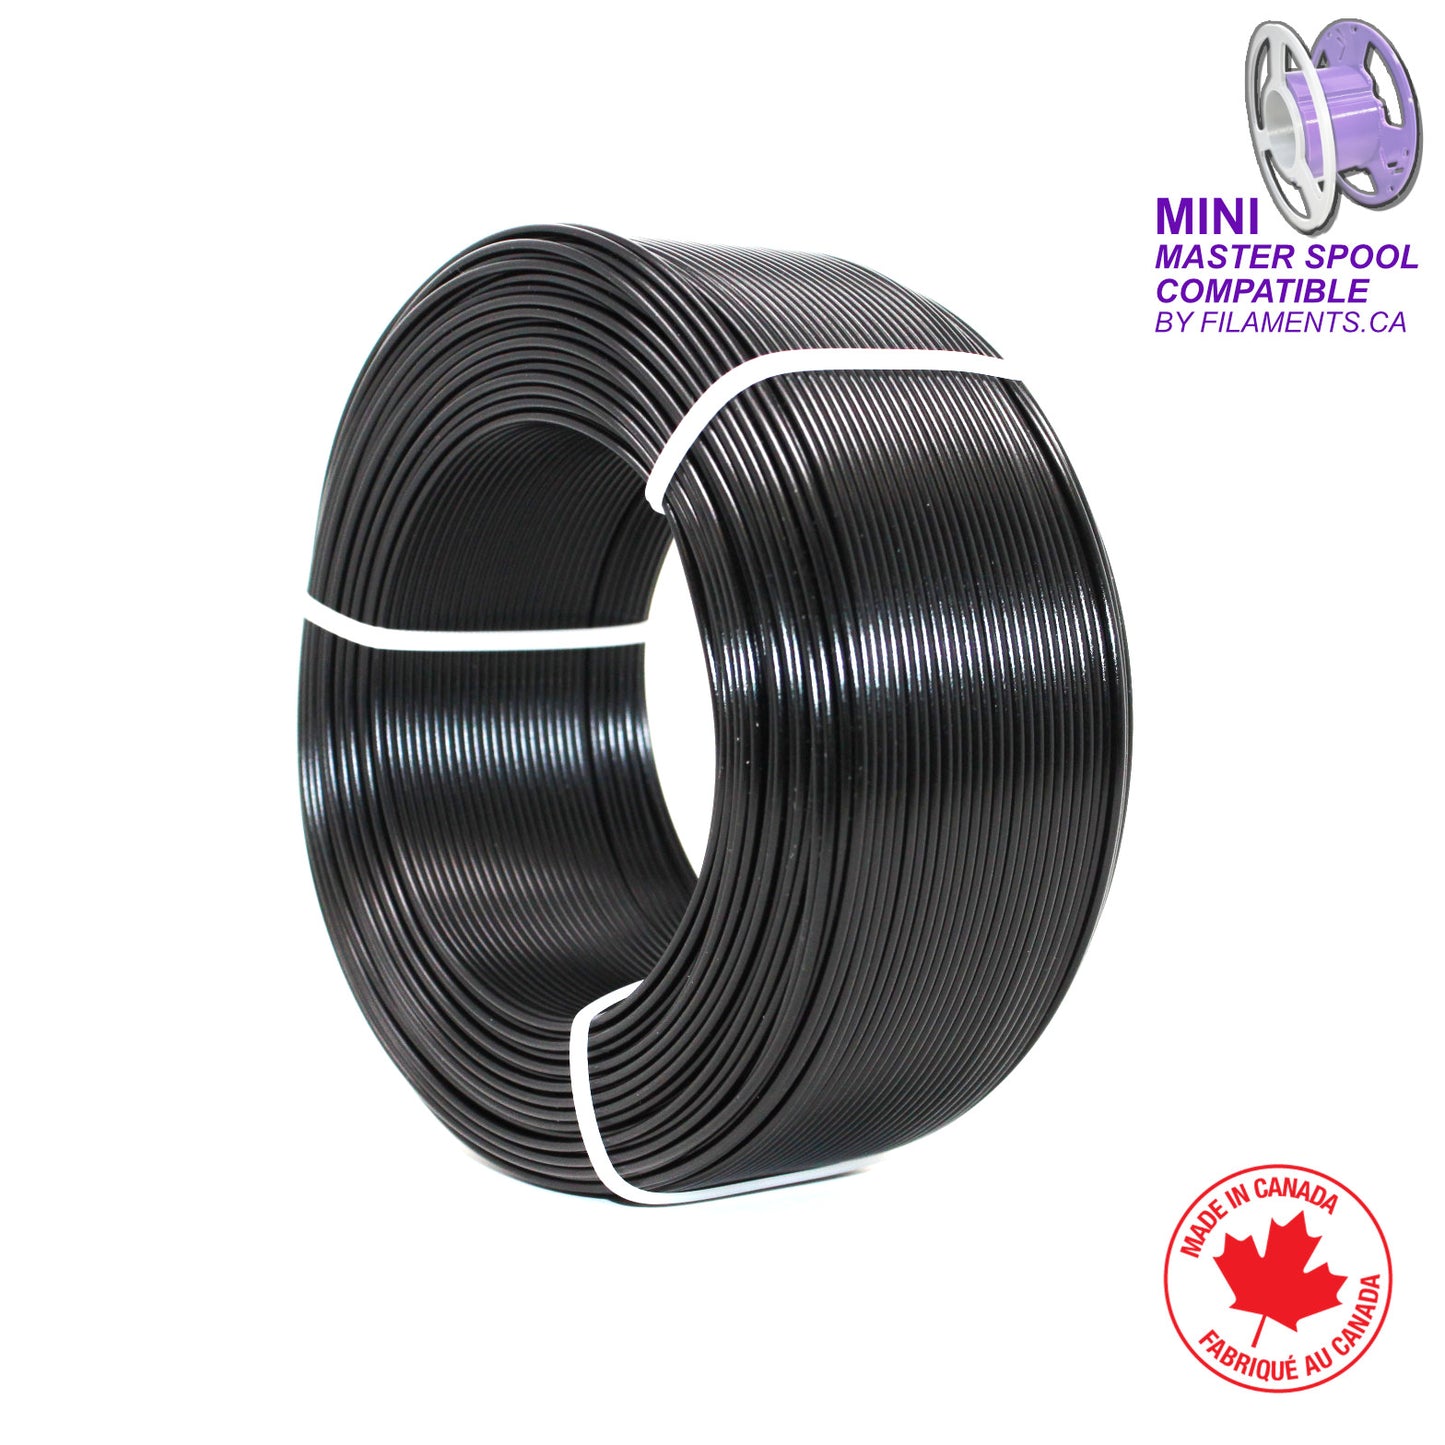
EconoFil™ PLA 3D850 - Mini Refill Coil - 1.75mm - Black - 0.5KG
Couldn't load pickup availability
Do you need help choosing the right material or 3D Printer for your application or require a quote to purchase? Contact Us

With the rapid growth of 3D printing across all industries, there is a massive amount of waste being generated. Back in 2018 Filaments.ca was proud to be the first 3D materials supplier in Canada to offer a new and innovative REFILL filament system; And now, back by popular demand, it is being re-introduced in a smaller and more cost effective MINI (0.5KG) size!
With our REFILL filament system, filament is produced as a coil WITHOUT a spool and is designed to be fitted on a REUSABLE master spool. A master spool is a spool that splits into 2 pieces in order to accept a refill filament coil and then closed back together to form a complete & full filament spool. Master spools can be 3D printed from our free supplied STL files.

Mini Reusable Master Spool FREE STL Download Links:
Our easy to print spool is available to download for free from the sites listed below.
The spool is only 148mm in diameter and can easily fit even small 3D printers.
Printables.com - CLICK HERE
Thingiverse.com - CLICK HERE
The main advantages of using the REFILL system are:
- Reduced overall cost.
- Reduced shipping weight.
- Reduced packaging waste.
- Reduced empty spools accumulation & waste.
Instructions:
Premium PLA
The Filaments.ca REFILL filament system is proudly produced in Canada under our popular EconoFil™ line using premium NatureWorks 3D850 food grade PLA resin, developed specifically for manufacturing 3D printer filament; finally bringing together our company vision of both financially and environmentally sustainable 3D printing!
- Low odor
- Sharper colors (no yellowed undertone like other PLA compounds, especially in the Clear color option)
- Non-toxic bio-based material
- Food Safe
- High detail printing
- Fast crystallization for faster printing with less distortion
- Excellent first layer adhesion
- Improved inter-layer adhesion
- Reduced warping and curling
- Annealable for high heat resistance
- Stronger than lower grade PLA's
- Smoother flow and easier extrusion
- Improved overhang performance
Did you know?
PLA 3D850 can be annealed to increase toughness and heat resistance to over 80°C! See instructions below.
|
Notes: |
| 210°C ±5 |
|
| Annealing Information: | |
|
Anneal - to heat and then cool in order to make the material stronger and more heat resistant. Annealing (Heat Treating) Instructions To get the maximum strength and higher heat resistance out of your 3D printed part, you may post- anneal (after the item is printed), a procedure that can be done in your oven at a range of 176-266F (80 - 130C) to promote increased crystallization and further improve the heat deflection temperature. Annealing works best for parts printed with 100% infill using the LINES infill pattern (Other infill patterns may leave small voids inside the part. It is also recommended to remove prints, blobs and strings from the print before proceeding to anneal. For best results:
Shrinkage and/or warping may occur. The degree of shrinkage/warping depends heavily on the part geometry. Items with extended sections can also be subject to some movement during this process. Only testing will show how any particular print will hold up. Some customers have tested a water bath annealing process using a sous vide cooker. This can ensure a more even distribution of heat but we recommend annealing for 60 minutes to ensure complete heat penetration. Results: Following this procedure will provide a stronger and more temperature resistant part. This will allow you to reach the full potential of the filament and printing process for your part. |


 Printing